

Every thrift store has a rack of men’s button-up shirts, and most of them get walked right past. Creator @dayoffstudioschs looked at one of those shirts and saw something else entirely: a feminine, Dôen-inspired top that cost her just 99¢.
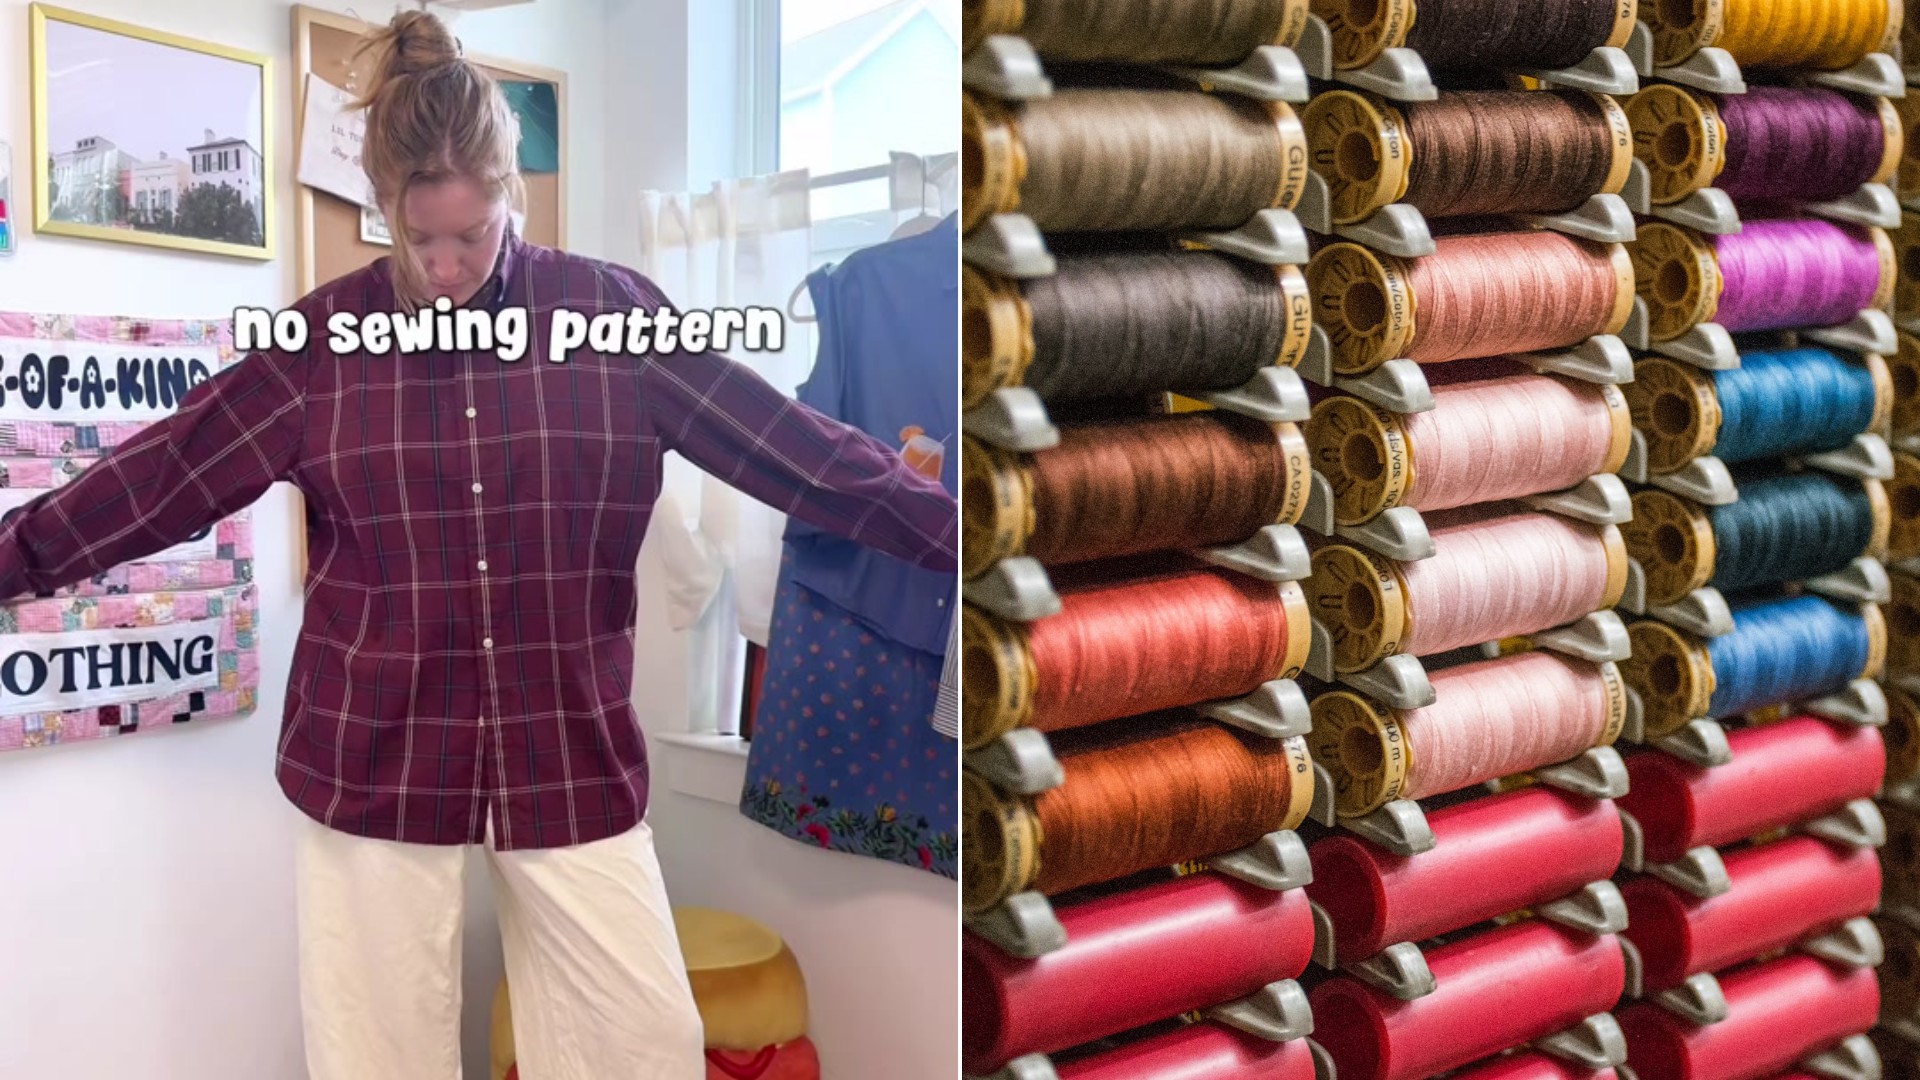
She calls the project a thrift flip, and she says she set out to capture a Dôen sort of vibe on a budget that most of us would call pocket change. The whole makeover, by her account, was easy, fully customizable to your own measurements, and took no time at all.
Her trick is a short list of simple moves: reshape the neckline, take in the sides, and finish the raw edges with crochet trim and bias tape. Here is how she did it, step by step.
@dayoffstudioschs
Start With the Neckline
The first thing @dayoffstudioschs did was remove the neckline of the shirt. Before she picked up the scissors, she roughly drew the new shape on the fabric with a marker so she was not cutting blind.
That small habit is worth borrowing. A line drawn in marker lets you step back, look at the shape, and fix it before anything is cut, and a cut you cannot take back is the main way thrift flips go wrong.
She also cut a decent amount off the hem, which shortens the shirt into a top instead of a long men’s tail. She took off the sleeve too, cutting it away so the shoulder could be reshaped to suit her.
Take In the Sides for a Better Fit
Men’s shirts are cut boxy, and that is the biggest difference between a men’s shirt and a top that flatters. Once she was through the side seams, she took off the excess fabric, which she says makes the top fit better.
Next she turned everything inside out and lined the pieces back up along the side seams. She pinned them all together, then sewed the side seams back down right below the sleeve seam.
Turning the garment inside out matters here, because it puts the seam allowance on the inside where it belongs and leaves a clean outer surface. Pinning before sewing keeps both layers from creeping apart while the fabric feeds through the machine.
Finish the Edges With Crochet Trim and Bias Tape
With the shape settled, she moved on to the neckline. She first added crochet trim, basting it on before she went in with a single fold bias tape.
Bias tape is a narrow strip of fabric cut on the diagonal so it stretches around curves, and it is sold in packages at most fabric and craft stores. It wraps a raw edge neatly, which means you do not have to hem a tight curve by hand.
Once the bias tape was sewn on, she gave everything a nice press. Pressing is a step beginners like to skip, but a hot iron is what makes trim lie flat and look store bought instead of homemade.
When the neckline was finished, she moved on to the sleeves, where she added the same crochet trim. Repeating the same detail at the neck and the sleeves ties the whole piece together and gives it that romantic, lightly vintage look she was after.
The last step was topstitching the hem down. After that, she says, the top was finally done.
Why a Thrift Flip Like This Is Worth a Try
The math is hard to argue with. A shirt that costs 99¢ plus a little trim and a package of bias tape is far cheaper than the designer-style tops that inspired it, and you end up with a one of a kind piece that fits you.
@dayoffstudioschs describes the project as really easy, and she points out that it is fully customizable to your measurements. That is the real advantage of starting with a larger men’s shirt: there is plenty of fabric to work with, so you can take in what you need and still have room to make mistakes.
Because the shirt is a button-up, the fabric is usually a sturdy cotton or a cotton blend, which behaves well under a home sewing machine. Crisp fabrics hold a clean neckline and press nicely, which helps first-time sewers get good results.
Tips Before You Pick Up the Scissors
If you want to try your own version, here are a few easy ground rules that fit this kind of project:
- Shop the men’s section for button-ups in larger sizes, since more fabric means more freedom to reshape the top.
- Wash and press the shirt before you cut, so the fabric is clean and flat and the shape you draw is accurate.
- Draw the new neckline in marker or chalk first, and try the shirt on to check the shape before cutting.
- Pin generously, especially along curves, and sew slowly.
- Press after every seam. It takes a minute and makes the finished top look professional.
Cut conservatively on your first try. You can always trim a little more off the hem or neckline, but you cannot add fabric back once it is gone.
The bigger lesson in this thrift flip is that style does not have to come with a big price tag. A 99¢ shirt, a few hours at the sewing machine, and a little crochet trim were enough for @dayoffstudioschs to turn a forgotten rack find into a top that looks like it came from a boutique.
More Stories You May Like
- Estate Sale Shopper Hits the Mother Lode of Cozy Granny Sweatshirts at $5 Each and Walks Out With 17 of Them, and the Closet Now Needs Some Space
- Thrifter Finds a Girlfriend’s Dream Purse Sitting at Goodwill and Films Her Reaction When She Gets Home and Opens Her Eyes to the Surprise
- Estate Sale Buyer Keeps Finding Bundles of Cash Hidden Throughout the Haul and Asks Everyone to Guess How Much Money Turned Up Altogether

Leave a Reply