

Some thrift store finds make you do a double take. For thefurnituredr, it was a pair of vintage Heywood Wakefield surfboard tables priced at just $19 apiece.
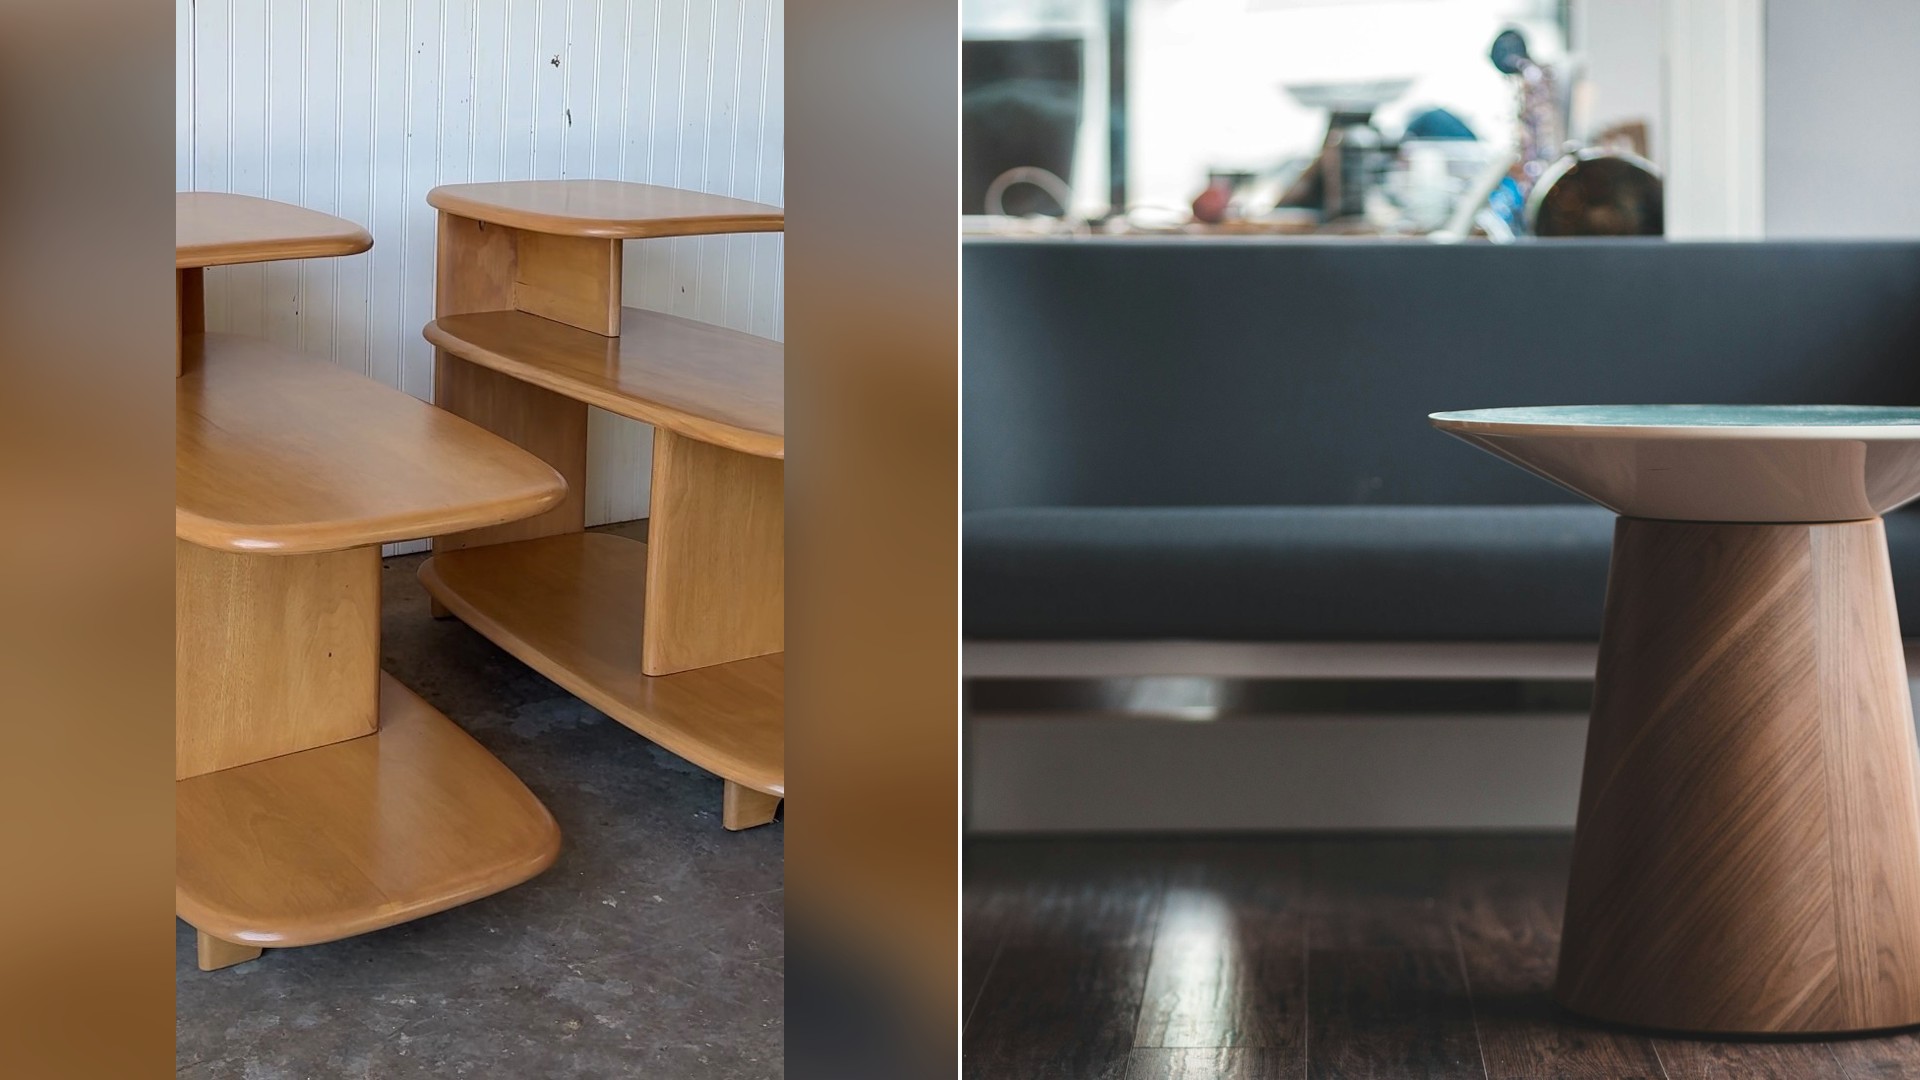
She says the price was “crazy,” because the same style of table is still in production and costs almost $1,000 a piece. Then she did the thing that makes a restoration video so satisfying, and she brought them back to life.
View this post on Instagram
$19 Each For Tables That Cost Almost $1,000 New
In her caption she says she wishes people could have seen her face when she found them. She calls the price “such a steal.”
There was a catch, though. She says it was clear these tables had been refinished before, and they were covered in gel stain that made them look neglected. That is a common story with older furniture, where a past owner took a shortcut that hid the good bones underneath.
She decided the tables deserved better, and she went back to the beginning.
Stripper On A Chip Brush And The Old Finish Just Melted
The first step, she says, was “a good clean.” She disassembled both tables and applied stripper with a chip brush, letting it sit for about 15 minutes.
“The old finish just started to melt right off,” she says. “So yeah, you could say it was a satisfying strip.”
The next job was sanding. These tables are solid birch, which meant she could sand off residue with a lower grit. In her caption, she says she started with 100 grit and moved to 120. The solid wood also meant there were lots of pieces that needed to be re-glued and clamped.
Gray Specks In The Birch Called For Wood Bleach
Then came another surprise. The birch had gray specks throughout the grain. To fix that, she mixed up wood bleach and applied it generously.
She was careful to finish the job properly. She rinsed everything with a baking soda solution, just to make sure it was all neutralized. Her caption notes that the bleach contains oxalic acid, which is why that neutralizing step matters.
Skipping a step like that can cause trouble with the finish later, so it is a detail worth copying if you ever try something similar.
Water-Based Stain Was A Learning Curve
Vintage Heywood Wakefield furniture usually comes in a wheat or champagne finish. She found a company that specializes in replicating those stains and decided on champagne.
The twist is that the stain was water-based, and she usually uses oil-based products. “This was a learning curve for me,” she says. She was skeptical, but it started to look really good after the second coat.
Her caption confirms she applied two coats of champagne stain in all.
“So Incredibly Stressful” But The Finish Came Out Gorgeous
Next up was amber polyurethane, also water-based. She used a foam brush, and she admits that “this whole process was so incredibly stressful for me.”
The finish dried fast and streaky. Her fix was to hand-sand lightly between each coat, and she says that “really, really helped.” She applied three coats in total.
Once everything was dry, she says she started “the puzzle” of putting the tables back together.
The Before And After
She gives a quick reminder of where she started. The surfboard tables were covered in gel stain and “just looked neglected.” Then she shows the after, and she says they are back to the way they looked when they were first manufactured in the 1940s.
“Absolutely gorgeous,” she says. Despite her difficulties, she adds, she is impressed with how well the color turned out.
She also admits she is “a sucker for Heywood Wakefield,” so it will be hard to let these ones go. And then she asks the question that gives the project its punch: “Would you pay $2,000 for these tables?”
What The Math Looks Like
Here is the arithmetic from her own numbers. She paid $19 for each table, so the pair cost $38. New ones, she says, run almost $1,000 each, which is nearly $2,000 for two. Her $2,000 question is the same price tag as buying a new pair.
That does not count her time, supplies or the stress she talks about. A restoration like this takes patience as much as money.
Tips If You Want To Try A Furniture Flip
Here are some general lessons from her project that apply to almost any thrifted piece.
- Clean first. Dirt and grime can hide what a piece really looks like.
- Be patient with stripper. She let hers sit about 15 minutes, and the old finish melted off.
- Sand in stages, moving from a lower grit to a higher one.
- Neutralize after bleaching. She used a baking soda solution.
- Sand lightly between coats of finish. It tamed the streaks on her water-based polyurethane.
- Work in a ventilated space and follow the directions on the label of every product.
A Steal That Kept Giving
A $19 thrift store find turned into a showpiece because one person was willing to learn a new type of stain, fix the streaks and keep going. If you spot a tired old table with a neglected finish, it may be hiding a 1940s look underneath.
And if you were looking at those tables, would you pay $2,000?
More Stories You May Like
- 9 Things From Your Grandmother’s Jewelry Box That Deserve A Second Look Before Anyone Drops Them At Goodwill
- RadioShack Once Had More Than 7,000 Stores And Two Bankruptcies, Now It Is Winning Again By Selling Old School Speakers And Radios That Look Like Realistic Gear
- Teenager Pays $3.07 For A Yellow Lakers Jacket At Goodwill, Then Sotheby’s Confirms It Belonged To Wilt Chamberlain And It Sells For $89,600

Leave a Reply