

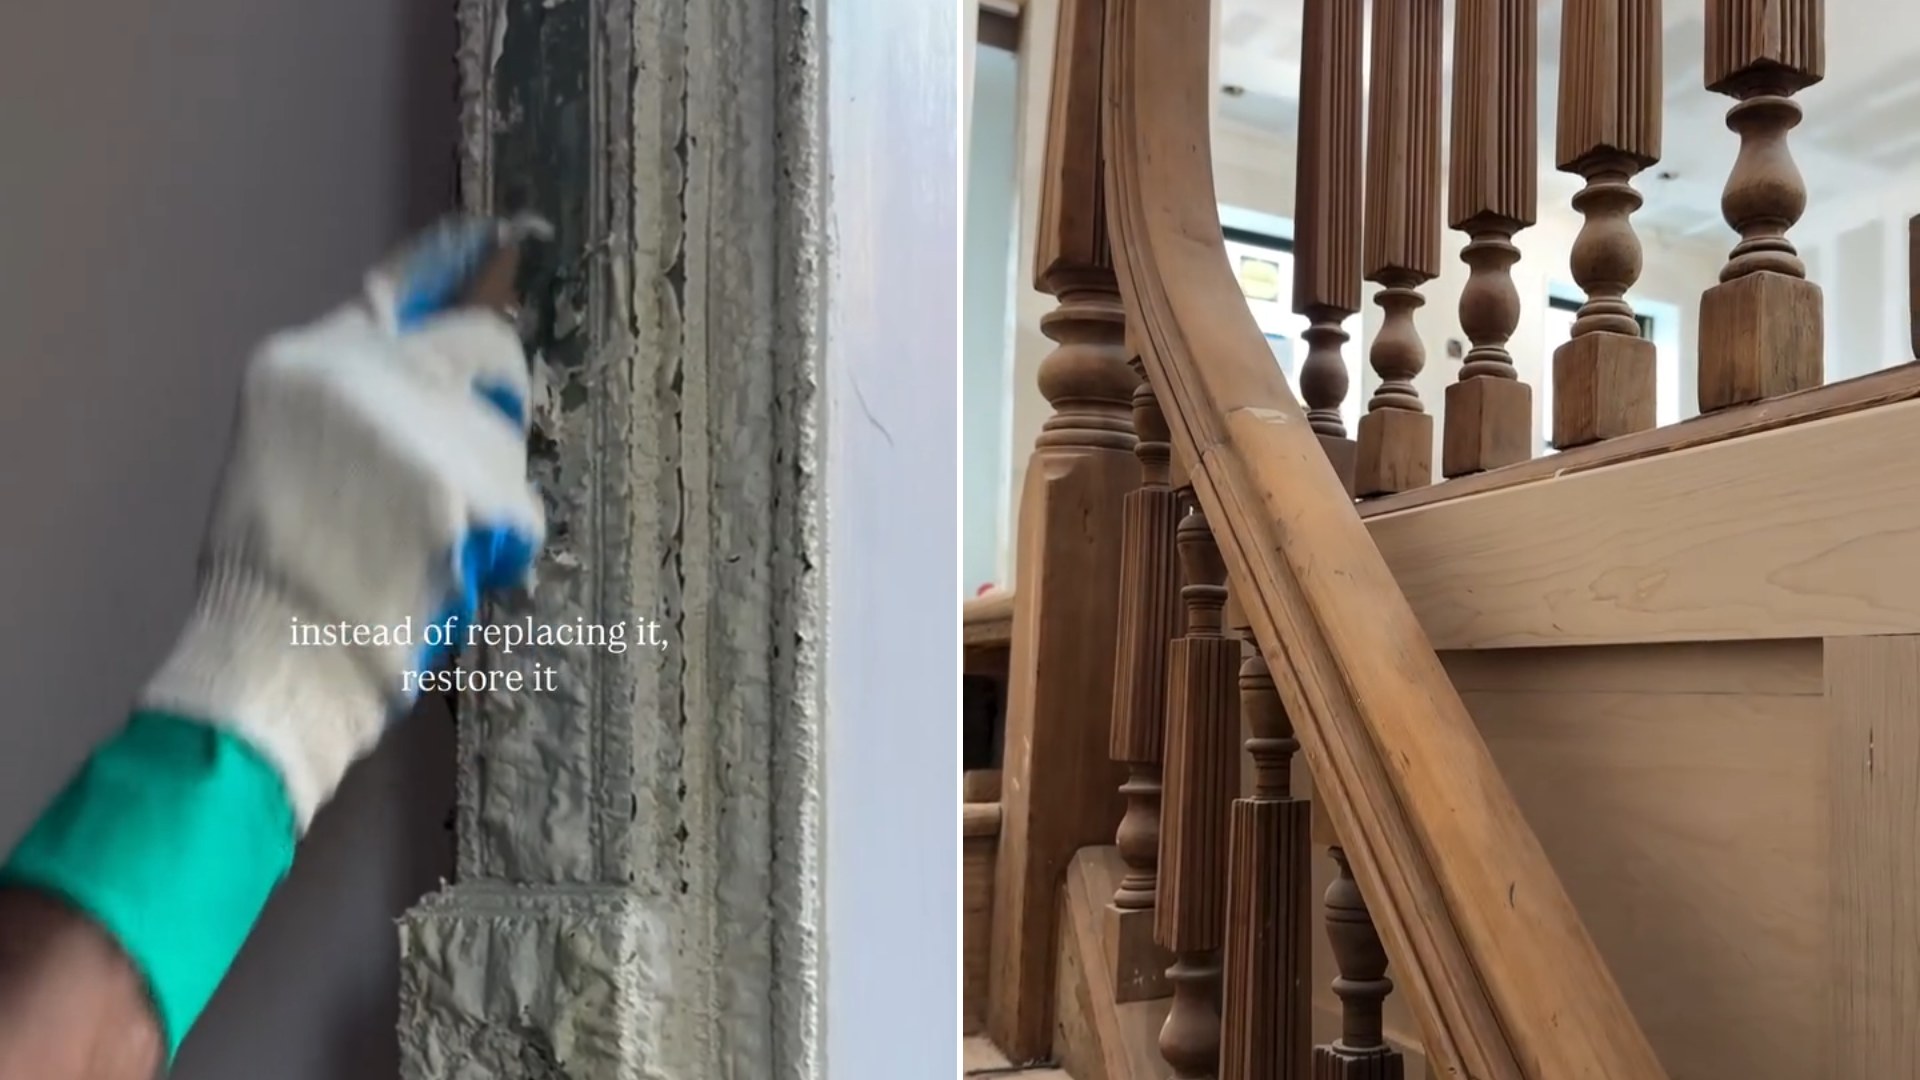
Ripping out original woodwork is usually the fastest way to modernize an old house, and it’s also the fastest way to erase exactly what made that house worth buying in the first place. The restoration specialists behind @brownstoneboys took the slower route on a recent project, choosing to sand, strip, and refinish a home’s original trim, doors, and flooring rather than tear it all out and start over.
Their process starts where most renovation shows would rather skip past: decades of grime, old paint, and yellowed varnish built up in layers thick enough to hide the wood grain entirely. Sanding it back means working section by section, testing different grits, and accepting that some of the ugliest-looking wood in a house is often the healthiest underneath.
By the time the crew gets through the first pass, the change is dramatic enough that it’s easy to forget this is the same floor or door frame that looked ready for a dumpster an hour earlier. Grain that had been buried under muddy brown varnish for a century suddenly shows real color, and the contrast between the treated section and the untouched section beside it makes the case for restoration better than any before-and-after caption could.
What’s Actually Hiding Under All That Grime
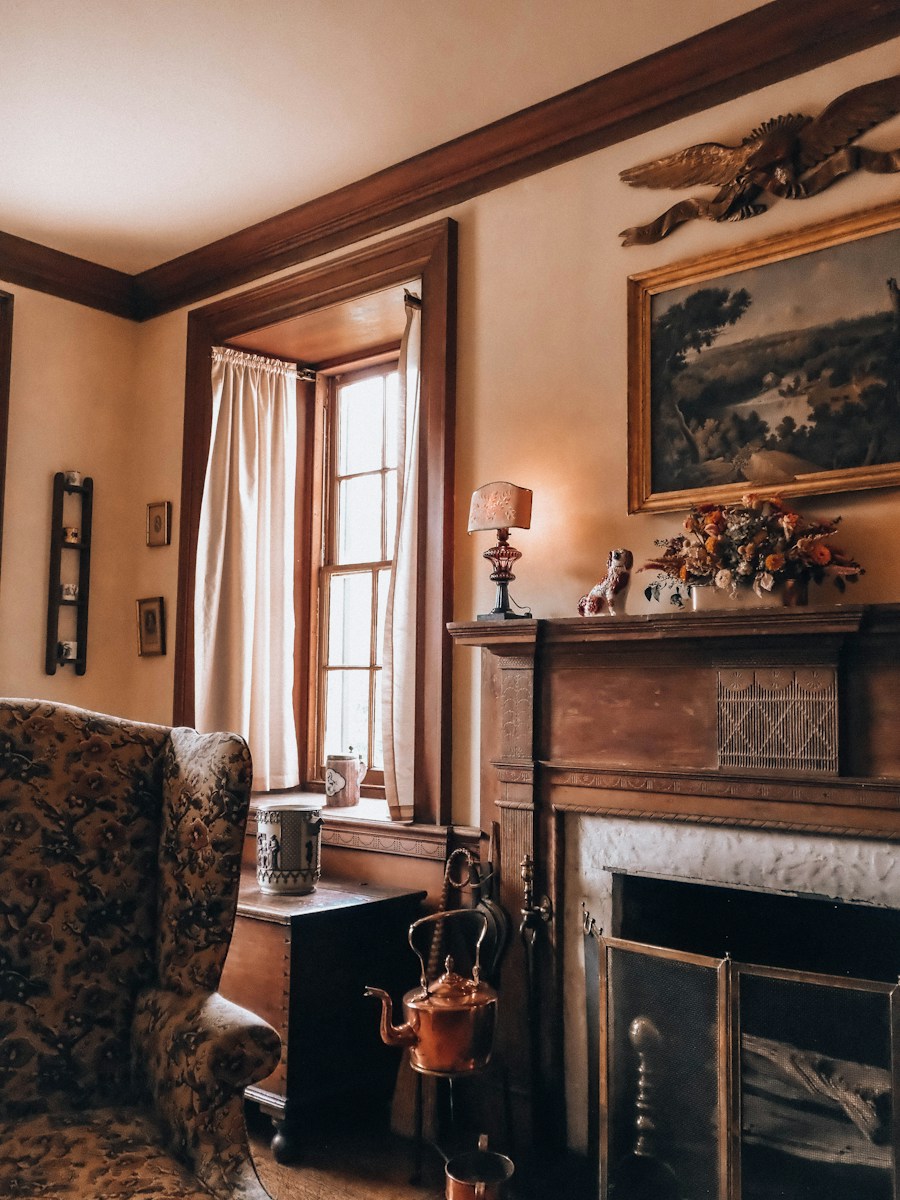
Homes built in the late 1800s and early 1900s were typically trimmed and floored in old-growth lumber, cut from forests that had been growing undisturbed for centuries before a saw ever touched them. That kind of wood grew slowly, which means tighter growth rings, denser grain, and a durability that’s genuinely hard to find in lumber milled from the fast-growing tree farms most construction relies on today. It’s a big part of why a well-cared-for antique floor or staircase can outlast several generations of homeowners, provided nobody decides to rip it out along the way.
Why Sanding Wins Over Swapping It Out
Replacing original trim and flooring sounds simpler on paper, but matching a hundred-year-old molding profile or a specific plank width usually means custom milling, which gets expensive fast. Original woodwork also carries small imperfections, like slightly uneven hand-cut edges or the subtle wear pattern left by decades of foot traffic, that no amount of new material can fake. Refinishing keeps that history intact while still delivering a surface that looks, and functions, like new.
There’s also a practical argument for restoration that has nothing to do with nostalgia. Keeping existing material out of a landfill is simply less wasteful than demolishing it and manufacturing a replacement from scratch, and sanding uses a fraction of the raw material a full swap would require. That makes the whole project quietly sustainable even when saving money was the only goal going in.
The Part That Doesn’t Show Up in the Highlight Reel
What separates a real restoration from a quick paint-over is the unglamorous middle stretch: stripping old varnish layer by layer, hand-sanding into corners and carved details a machine sander can’t reach, filling old nail holes and cracks, then staining and sealing to bring back one consistent finish. It’s slow, dusty work that rewards patience over speed, and it’s exactly the kind of labor that gets compressed into a satisfying few seconds of video even though it represents hours of hands-on effort behind the scenes.
Projects like this one tap into something a lot of old-house owners feel but rarely see followed all the way through: the instinct that a home’s original bones are usually worth saving, even when they’re buried under a century of neglect. Watching that instinct pay off, plank by plank and doorframe by doorframe, is its own kind of satisfying, whether or not you’re the one holding the sander.
How to Tell If Your Own Woodwork Is Worth the Effort
Not every homeowner has a restoration crew’s eye for what’s salvageable under decades of paint and grime, but there are a few low-tech ways to check. Tapping a section of trim or flooring gives a rough sense of density: solid old-growth wood tends to sound and feel heavier than a modern veneer over particleboard. Looking at an end cut, where a baseboard meets a doorframe or a plank butts up against a wall, often reveals tight, closely spaced growth rings that give away genuine old lumber versus a newer, faster-grown substitute. A small hidden test patch with sandpaper or a bit of stripper, tried somewhere out of view like inside a closet, can also confirm whether real wood grain is waiting underneath before committing to a full-room project.
It’s worth remembering that this kind of restoration rarely happens in one afternoon, even when a finished reveal makes it look effortless. Professional crews budget for multiple passes of stripping and sanding, drying time between coats of stain and sealer, and touch-up work on spots that need extra attention. Homeowners tackling a smaller version of the same project, a single staircase or one room of original trim, can expect a similar rhythm on a smaller scale: strip, sand, inspect, repeat, until the wood underneath finally looks like itself again.

Leave a Reply