

Walk through any thrift store and you will see the same thing over and over: tired, dated, slightly beat-up pieces that most shoppers glance at and keep walking. An antique booth owner looks at those same shelves and sees a shop display waiting to happen. Her recent project started with two homemade wooden tool boxes, one that cost about $3 and a second she thinks was maybe five or six dollars, and a can of pretty green paint.
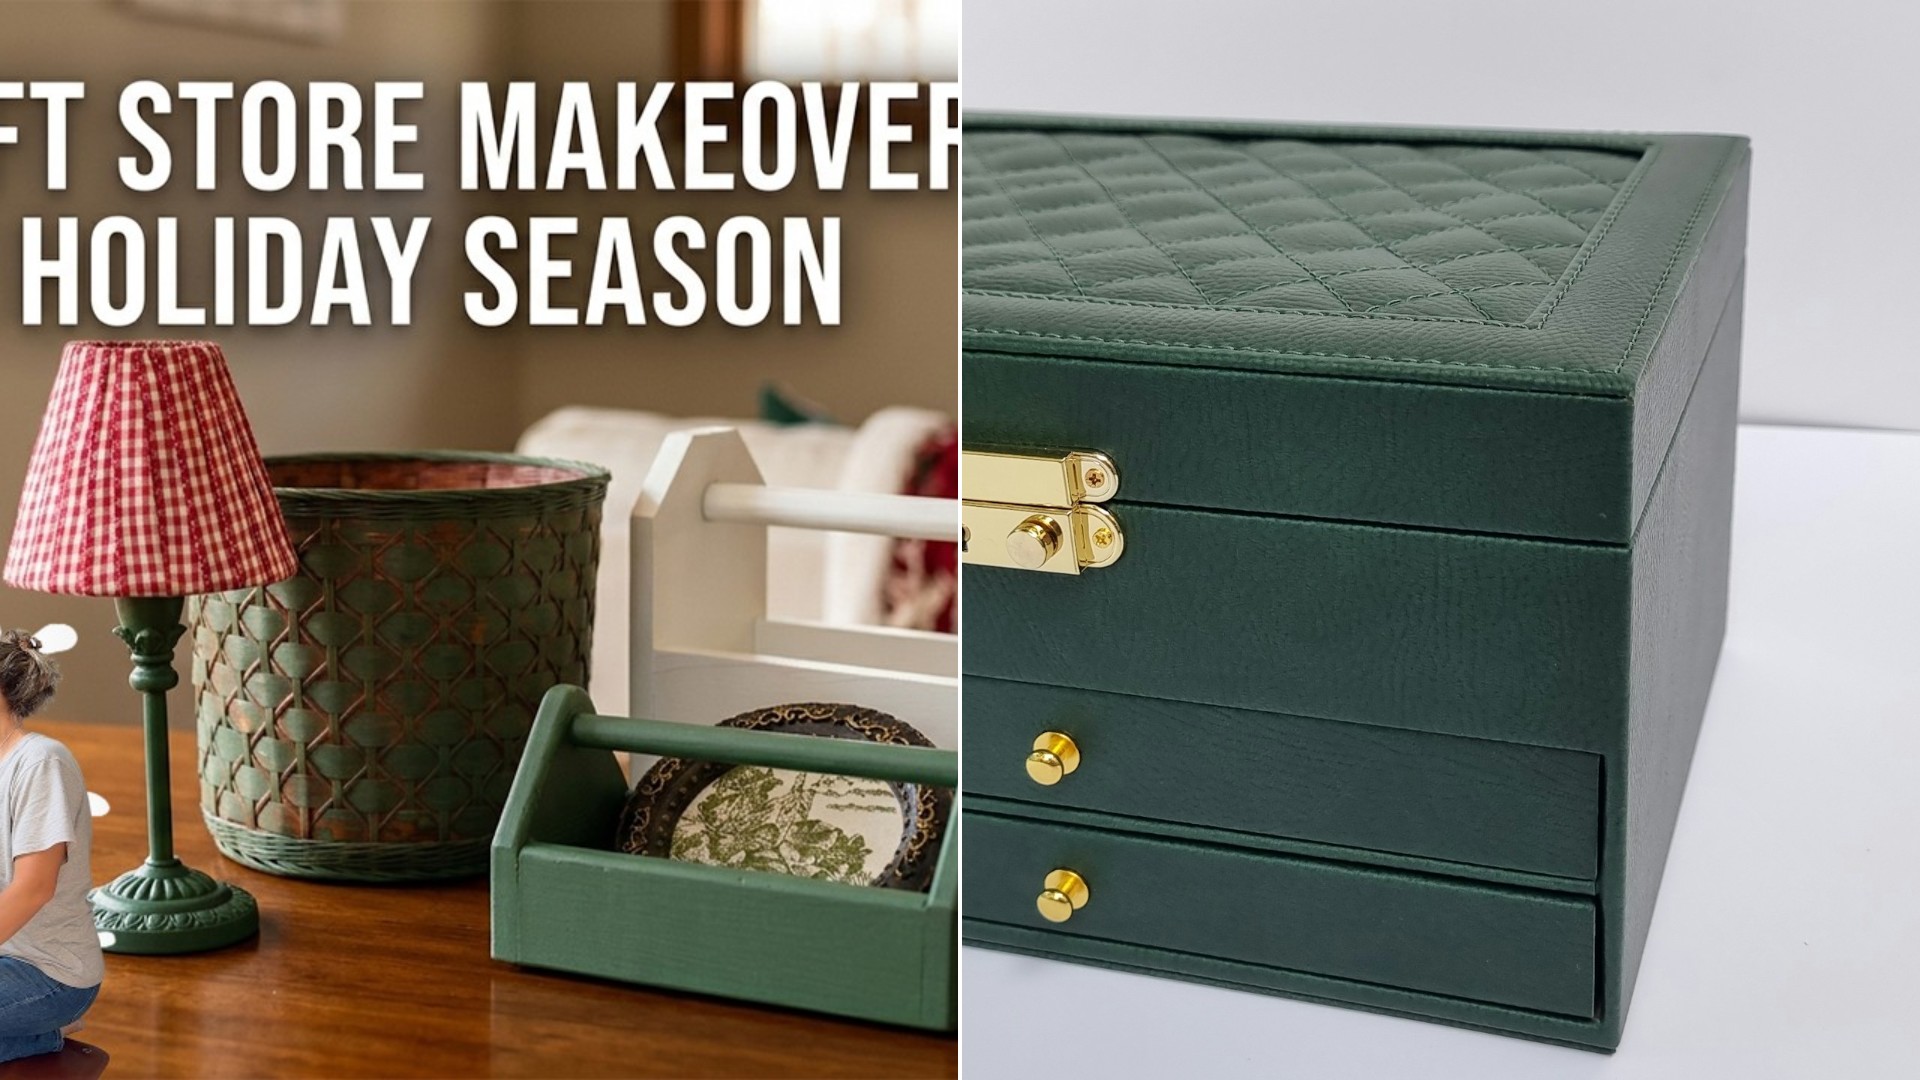
The two boxes definitely needed help. One was covered in unsightly screw holes, the other was simply rough. She planned to fill, sand and paint them, then put them in her antique booth, where floral arrangements and carry-around caddies sell well.
The video, shared on the Elizabeth’s Old Things channel, walks through a whole series of thrifted decor redesigns. It is a good reminder that an average piece can turn into something special with a little imagination and not much money.
Fill, Sand, Paint
The method is simple enough for any beginner. For the box with the screw holes, she used a wood filler and a putty knife, scraping it down into each hole. It dries fairly quickly, and then you sand it smooth. She says this kind of filler works especially well on larger holes. The smaller caddy had no holes but was rough, so she gave it a smooth sanding with 220 grit sandpaper.
Then came the star of the show, a chalk paint in a color called English Ivy, from the Dixie Belle line. She described it as one of the prettiest greens she had come across in a long time, and she found her can at a Habitat for Humanity store in Midland. If you want to try it, the color name is worth writing down. A good tip: check local resale shops for paint, since part-used cans often show up there at a fraction of retail.
A Whole Table Of Makeovers
The same green went on a vintage basket that could be used either as a trash can or a flower pot. She used a chip brush to highlight only the raised areas, giving a touch of green for people who do not love the very red-wood look. She planned to use it for a Christmas tree stand, and said the distressing looks good.
A resin frame came next. It was ornate and pretty but needed something inside, so she cut a piece of cardboard, covered it with a round of fabric she had kept for years, and attached it with Mod Podge. She also decided to change the finish, from a coppery look to a warmer gold, using Grecian gold rub and buff, a wax-based metallic finish that gives a bold pop with very little work.
The small tool box turned out nicely in the ivy green. For the larger one, she used heirloom white spray paint instead of chalk paint, because the inside had nooks and crannies and she did not feel like fussing over them with a brush. A lamp got a new look and a shade she made around Christmas last year, and she liked it so much that she thought about keeping it for her own kitchen counter.
The haul grew from there. A two-tier chrome serving tray had some worn gold paint on the handles, so she brightened them with rub and buff. A dated vintage mirror with a pretty top got strategic chalk painting and distressing and ended up in her antique booth. Another two-tier tray got a base coat in brown, then two coats of a creamy color called drop cloth, and when the distressing did not look the way she imagined, she switched to gold leaf rub and buff. A scuffed round metal tray was painted a soft cottage white. Her first idea, an antiquing glaze to settle into the carved detail, did not work well, and neither did a thick wax. She kept experimenting until it looked right to her.
That last part is the honest lesson. Not every idea works the first time, and a good painter simply tries something else.
Tips For Your Own Thrift Flips
- Look for good bones. Shape matters more than color. A dated finish can be changed in an afternoon, but a flimsy or awkward shape cannot.
- Fill and sand first. Holes, dents and rough spots show through paint. A little wood filler and fine sandpaper make the finish look expensive.
- Match the paint to the job. Chalk paint sticks to many surfaces with little prep. Spray paint is easier on spots a brush cannot reach.
- Use metallic wax sparingly. A touch on handles, edges and raised details brings an old piece back to life. Start with a small dab and build up.
- Do not be afraid to change course. If glaze, wax or distressing is not working, wipe, repaint or try another finish.
- Style it before you sell it. Photographing a piece with a few props, like greenery in a caddy or a tree in a basket, helps shoppers picture it at home.
Pieces like tool boxes, trays, baskets and frames are some of the easiest and cheapest things to find at a thrift store, which makes them wonderful practice projects. Spend a few dollars, work in a ventilated space, give each coat time to dry, and you may end up with something you cannot bear to part with, just as she nearly kept the lamp.
More Stories You May Like
- Woman Took Her Pristine 60 Year Old Heirloom Rolleiflex to a Repair Shop and Got It Back With Swapped Parts She Says Are Not Even Hers
- Estate Sale Company Cracked Open a Can of Sliced Bacon From 1995 and Said the Smell Inside Reminded Them of Dog Food
- Estate Sale Shopper Woke Up at 6AM and Squeezed In 48th of the First 50 Then Found a Closet Packed With Vintage Chanel and Fur Coats

Leave a Reply