

We all have that one top in the closet that looks great on the hanger and never makes it out the door. For TikTok creator @cowgirlsosa, it was a cheetah print shirt, and she decided it was time to hand it a fresh life with a pair of scissors.
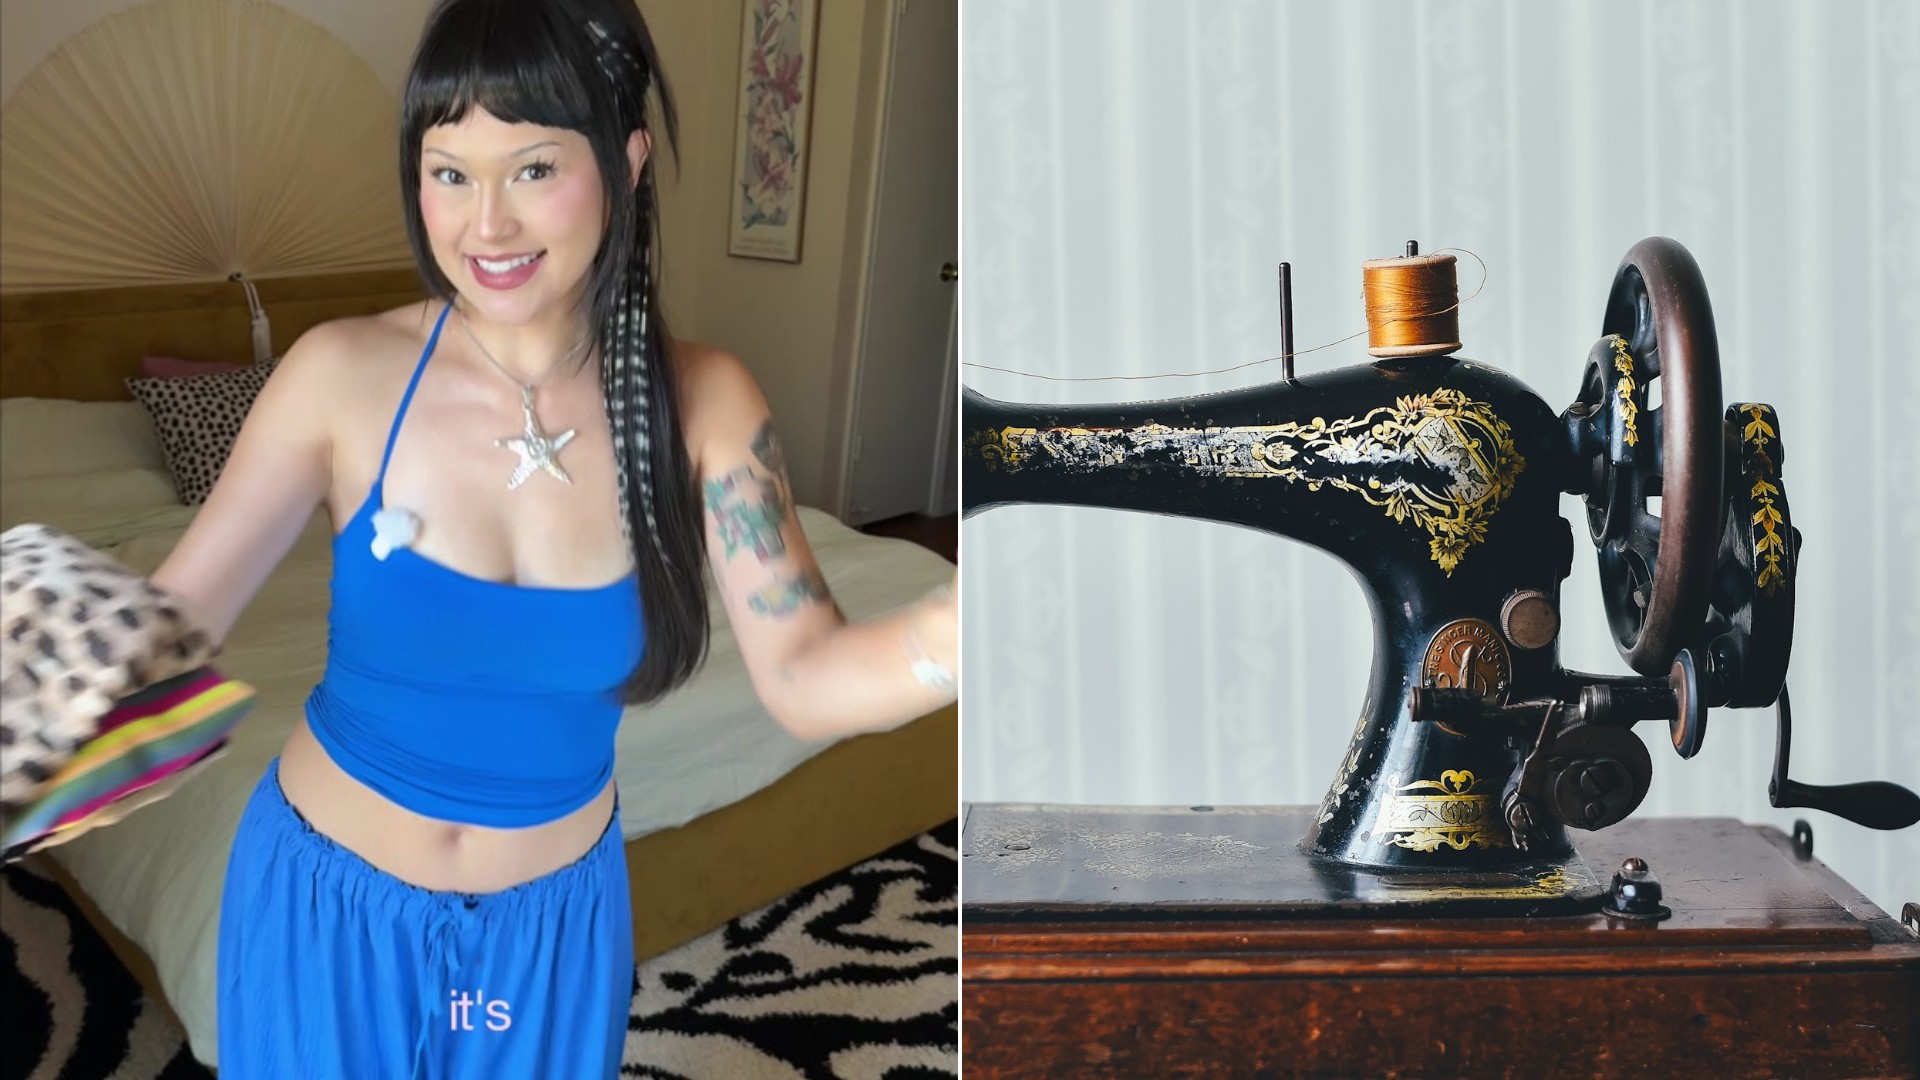
Her caption sums up the attitude: no shirt is safe from her scissors. She keeps what she calls a pile of clothes in purgatory, waiting to be transformed, and this video is the story of one of them getting its turn.
She loves cheetah print, she says, but every time she puts this top on, she ends up taking it off and wearing something else. Her fix was a keyhole neckline, a style she says has been all over her Pinterest.
@cowgirlsosa
Why a Keyhole Top Is a Great Beginner Project
According to @cowgirlsosa, keyhole tops are one of the easiest things to make. The whole design is a small opening at the neckline, so there is very little fabric to cut and only a short stretch of edge to finish.
That makes it a smart first project for anyone who has been nervous about taking scissors to clothes. You are not rebuilding a garment from scratch. You are adding one clean detail to a top you already own.
Marking and Cutting the Opening
She began by marking about where she wanted the keyhole to end. Then she cut right down the middle, taking care to round out the bottom of the opening.
The rounded bottom is what gives a keyhole its look. A sharp point can pucker and pull when you sew it, while a gentle curve lies flat and is easier to finish.
Hemming the Edges With Bias Tape
Here she says she would normally skip a step in real life, and she admits you can skip it too if your fabric does not fray and has some stretch. This time, though, she wanted to try a more professional thrift flip, so she hemmed the cut edges.
You can fold over the edges and hem them that way, she explains, but she chose to use bias tape. She calls it a very cheap product that you can buy or even make yourself.
With the folded side facing her, she pinned the bias tape all around the edge. Pinning something straight onto a curved line is tricky, so her advice is to use as many pins as you need, pick up the fabric, maneuver it, and go slow.
Then she sewed the tape on with a zigzag stitch, catching the edge of the bias tape and making sure the bottom fabric went into the seam. She also guided it by hand, showing how the zigzag goes over the edge and just catches the tape.
After sewing the tape on, she folded it in the middle, which is how it is designed. She folded it over, tucked it underneath the edge, and sewed it down all the way around for a set of clean edges.
She joked that she did not even feel like herself using a real iron that day. Pressing is one of those chores sewers love to dodge, but it is what gives bias tape its crisp, finished look.
Closing the Top With a Bow
With the keyhole done, she turned to how to close it. You can add a little button or a little bow, she says, and she wanted a shirt she could really cinch at the top.
So she folded over the neckline to create a channel, then threaded a ribbon through. Her ribbon in this case was an old shoelace, but she says you can use whatever you have on hand.
All that was left was to tie a little bow. Her only complaint is that she wishes she had made the keyhole a little bigger, but she says she loves it anyway.
Tips for Your Own Keyhole Top
If a top in your closet has been waiting for a second chance, her method points to a few simple habits that help any version of this project:
- Choose a shirt you like the print of but never wear. A change of neckline is a low-stakes way to change how a top feels.
- Mark the keyhole first and check it in the mirror. A small opening can always be cut larger later, but not the reverse.
- Round the bottom of the cut so the opening lies flat once it is finished.
- Use as many pins as you need on the curve and sew slowly.
- Reach for what you already have for the tie. A shoelace, a ribbon, or a strip of fabric will all do the job.
Bias tape is sold in packages at fabric and craft stores in many colors, so you can match the print or pick a contrast shade on purpose. A contrast color turns the neckline into a design feature.
The best part of a thrift flip like this one is how cheap it is. A top that sat unworn becomes a trendy piece, and all it took was scissors, a little tape, thread, and an old shoelace. @cowgirlsosa proves that style can come from your own pile of clothes, no shopping trip required.
More Stories You May Like
- Seamstress Rips Apart A Thrifted Nightgown And Sews It Into A Retro 1970s Style Skirt And Top Set With An Oversized Collar And A Hand Sewn Hem
- Shopper Never Skips the Fifty Percent Off Day at an Estate Sale and Walks Away with a Dream Vintage China Set
- Thrift Shop Shares The Magnet And Tap Tests For Spotting Real Silver And Crystal Before You Buy, And Anyone Who Has Overpaid For Glassware Will Want To Know

Leave a Reply